


Complete Guide on How to Set Up GitHub Page
GitHub is a code based hosting platform for version control and collaboration. It lets you and others work together on projects from anywhere. Aside that, it can be use to host static websites to serve as documentation for your project, portfolio site or blog site etc.
Your site is hosted directly from your GitHub repository. While it is flexible for maintenance through edit, push, and your changes become live.
In this article I will take you through step by step guide on how to host your site on GitHub. If you are already familiar with GitHub you can skip steps you are already familiar with.
Step One (1)
If you don't have account with GitHub visit the official site to sign up github.com/join
Step Two (2)
Create a repository github.com/new
Step Three (3)
I assumed you are already familiar with using terminal, change the director to the folder you want to keep the repo. Clone the repo to your local machine through the terminal using the commands below
git clone https://github.com/username/username.github.io
Step Four (4)
Add your website files/source to the folder of the clone repo.
Step Five (5)
Push the code to the GitHub repo using the commands below
git add --all
git commit -m "Initial commit"
git push -u origin master
Step Six (6)
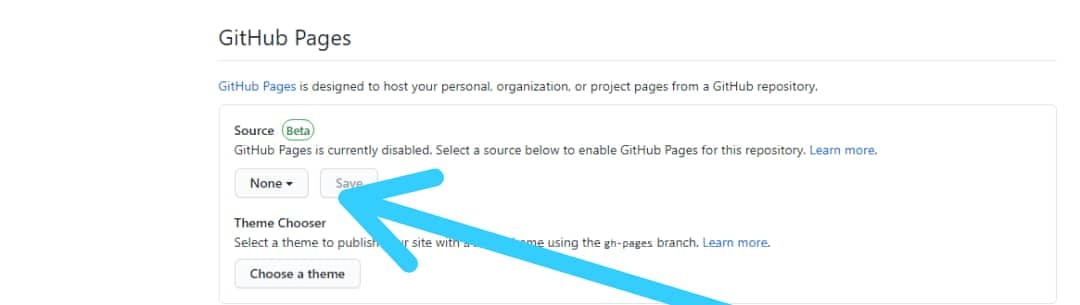
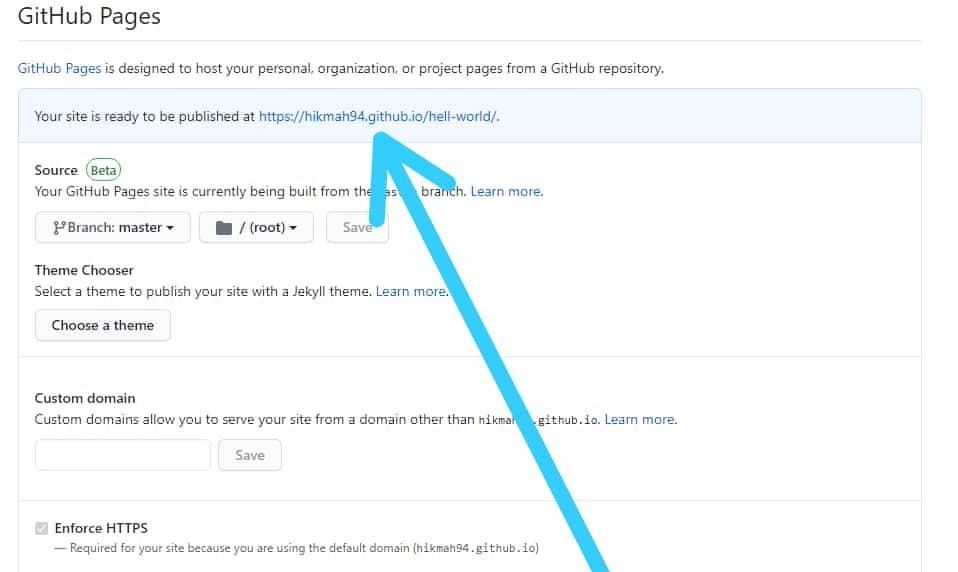
Go to settings from the repo to enable the GitHub Page

Next change the source from none
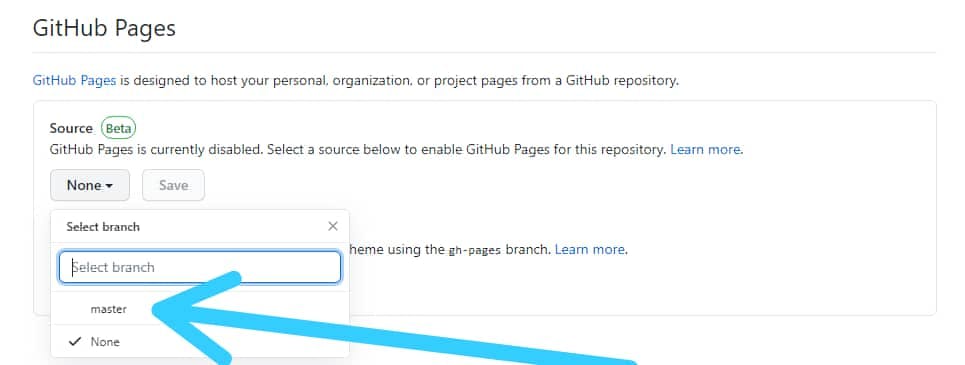
Next Select master branch as the page source
Next set the folder to root or doc folder.
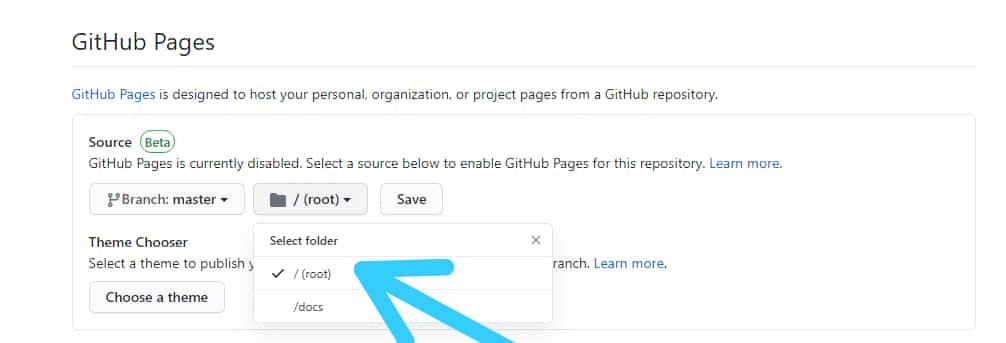
Once Your set up is completed your site will be live on yourusername.github.io.
Step Seven (7)
Set up your costume domain if you have one
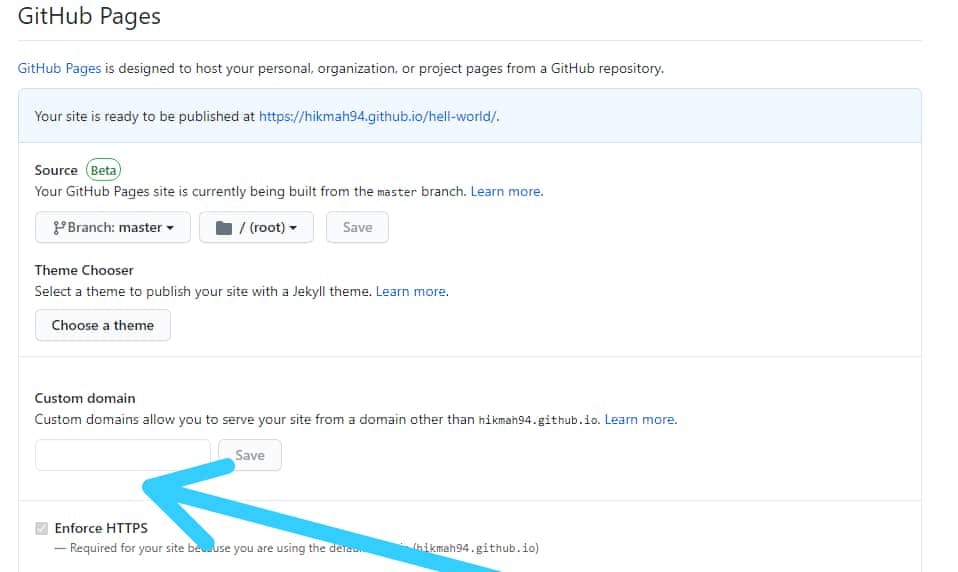
Next go to your domain name service provider to add a four A record to the DNS records from your domain provider cpanel pointing to all of the four GitHub static IP addresses provided by below
185.199.108.153
185.199.109.153
185.199.110.153
185.199.111.153
Next add a CNAME record for the www sub domain pointing to your GitHub Page url yourusername.github.io from your domain provider cpanel
Step Eight (8)
Once your DNS record propagate enforce https
Step Nine (9)
Congratulations your live site will be live through your costume Domain with https enabled.
Note:
- GitHub Page works both on private and public repo, which means to set up a GitHub Page you need not to change your organization project work which you are not willing to share with the public.